Today is the first day of the BioSnacky Sprouting Challenge and I’m very excited!
Yes, sprouting mung beans is pretty high up there on the list of things that make me a little giddy. You can go ahead and judge, I’m comfortable with that.
Anyway, full disclosure first, A.Vogel Canada reached out to some food bloggers to ask if we would be interested in participating in their 10-day sprouting challenge. They would send us each our own sprouter (which we get to keep) and seeds, and we would agree to play with it for 10 days and blog about our experiences.
It took me about a millisecond to agree.
Now, while there’s no doubt that I was dazzled by their flashing around a free $28 sprouter, I’ve actually turned down other offers to send me free stuff if I would talk about it on the blog. I joke a lot, but I do actually take the fact that you guys read what I write very seriously and I will never use this blog to plug or promote anything that I don’t totally believe in.
And I believe in sprouting.
Oh boy, do I!
I’ve actually been sprouting for a while now and I love it. Not only do you get to feel like a real farmer without having to shovel cow dung or even leave your kitchen, but fresh sprouts are so incredibly good for you it’s almost unfair to the other vegetables.
Here are just some of the great things about fresh, organic sprouts:
- Super high in protein (up to 35% of a sprout is protein)
- Rich in enzymes which help your body do all of the amazing stuff your body does
- Makes beans, seeds and grains much easier to digest
- Sprouting neutralizes the phytic acid in beans, seeds and grains which bind with key nutrients so that your body can access them.
So basically the mung bean is Clark Kent and the sprouted mung bean is Superman!
Pretty cool eh? Are you excited yet?
No?
Okay, well wait till you see how fun and easy they are to grow and then we’ll talk.
This morning I cracked open the shiny box from A. Vogel and voila!
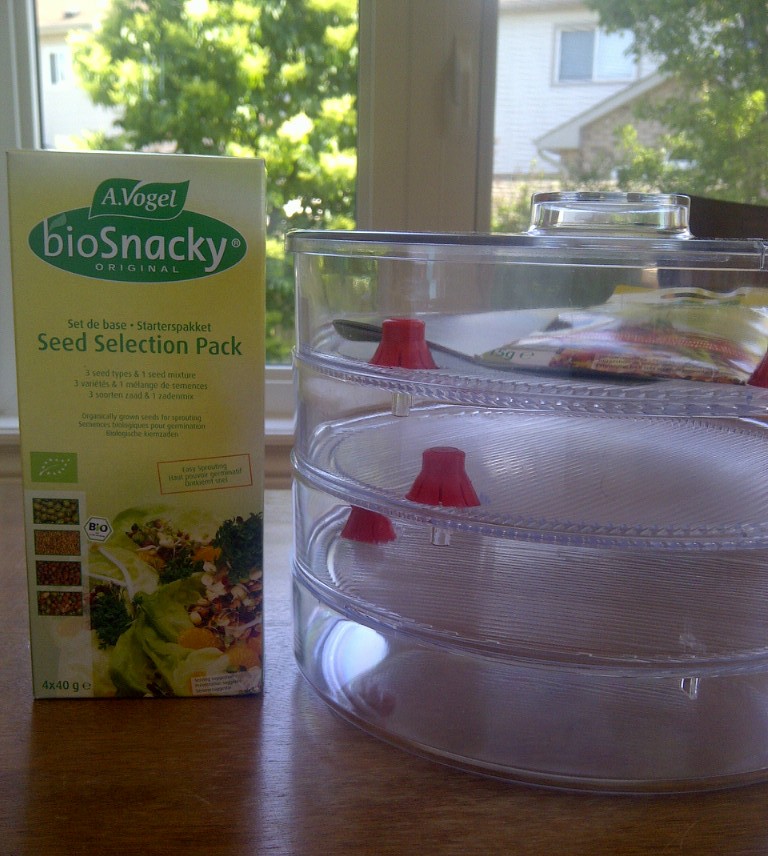
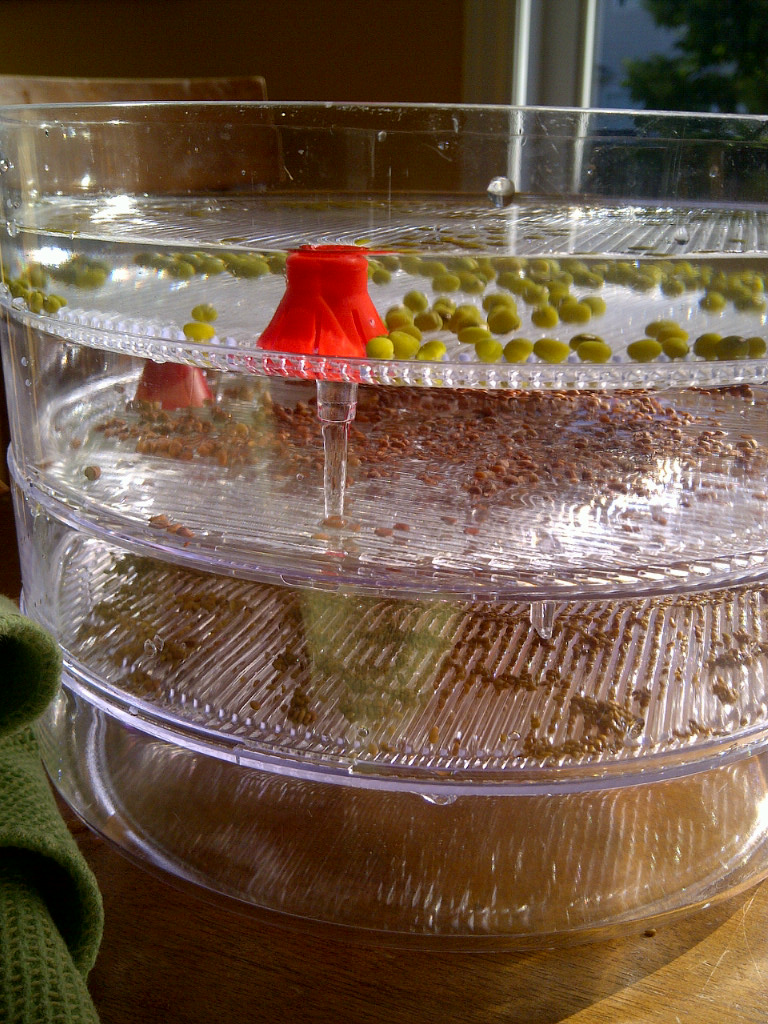
The sprouter comes with three trays and a bottom reservoir that collects excess water.
Before you “plant” the beans and seeds in the trays, you need to rinse them. I started with mung beans:
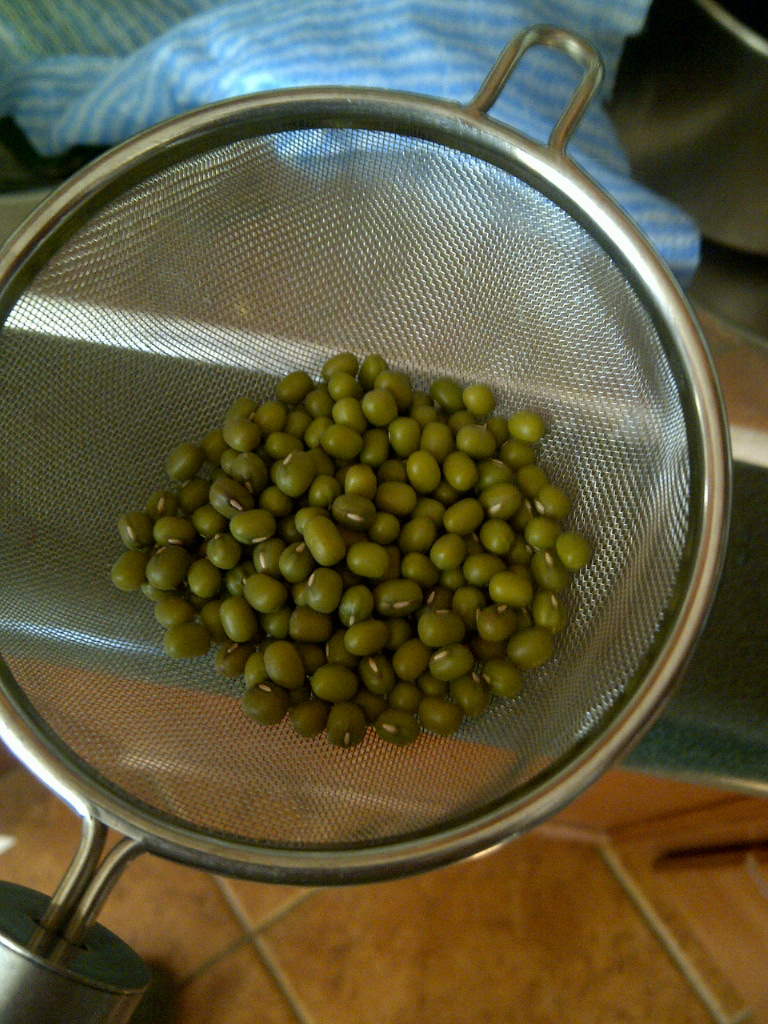
So cute!
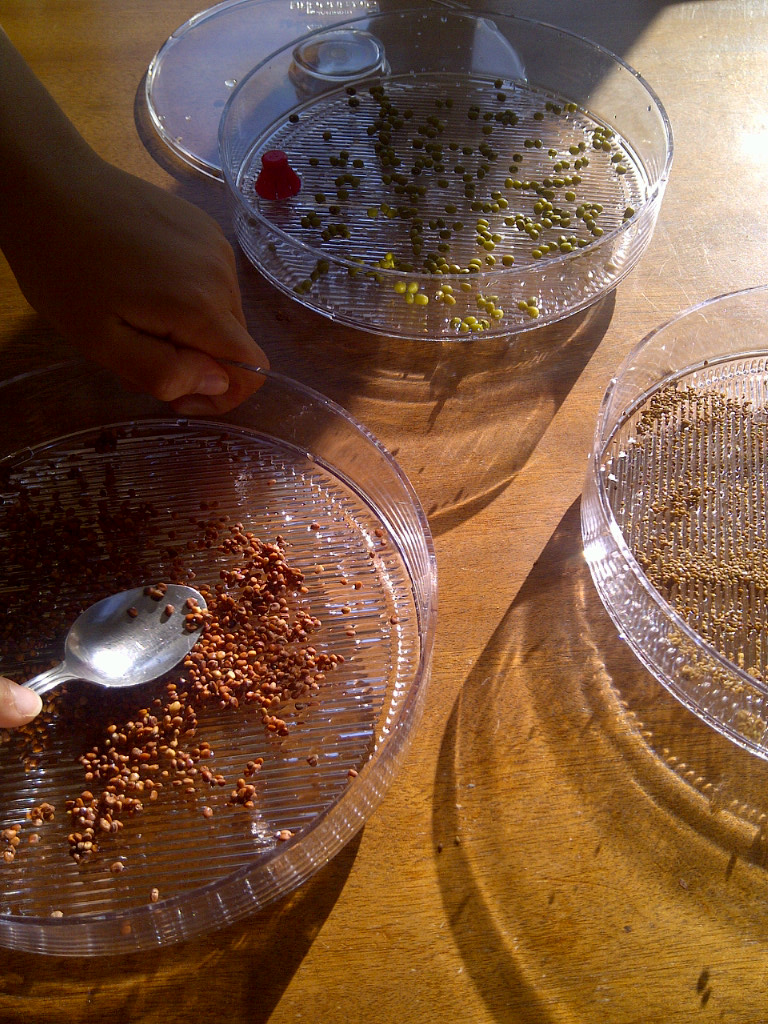
After they were rinsed I called on the help of my handsome assistant – my 8-year old son Gavin – to spread them around the first tray.
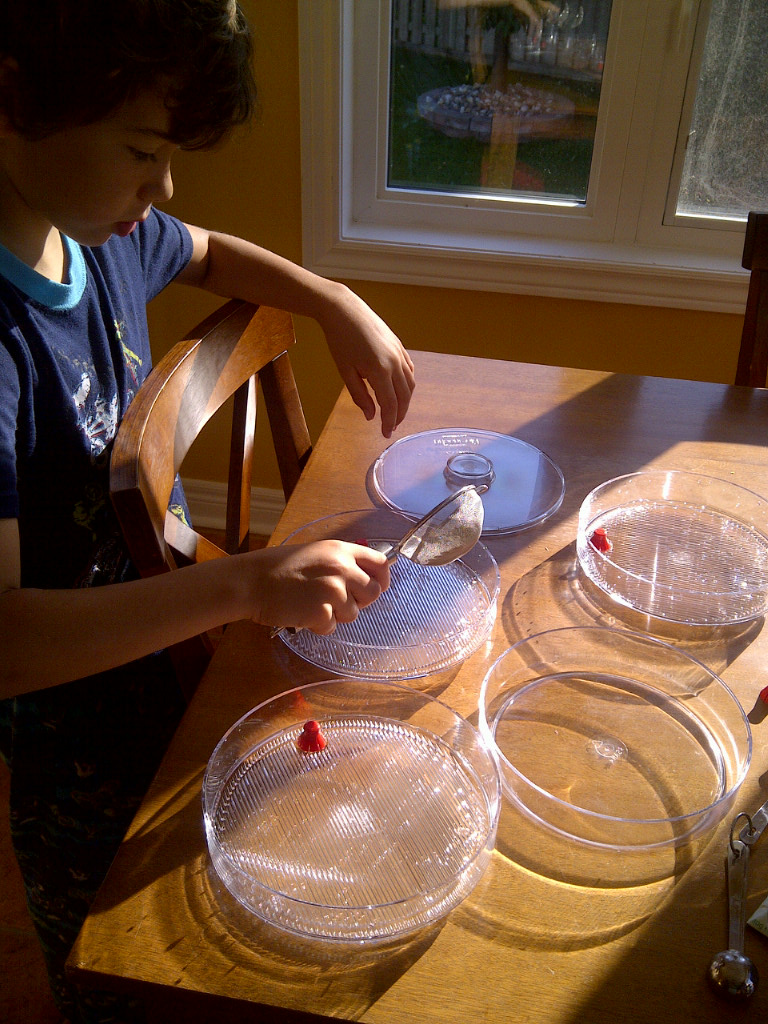
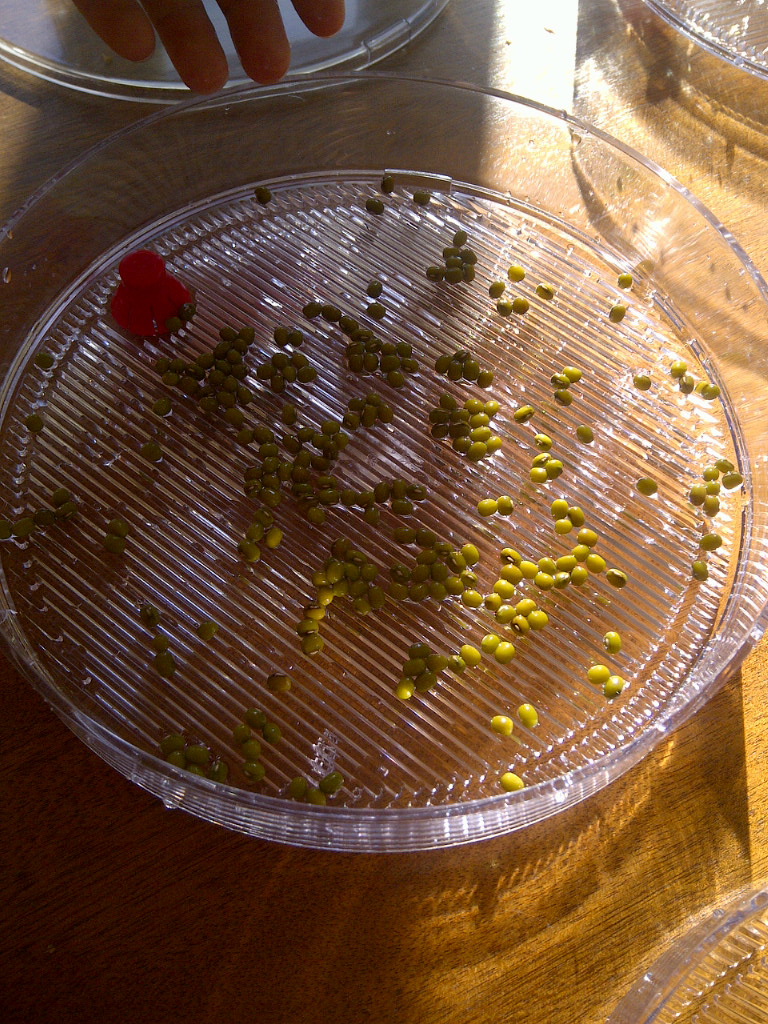
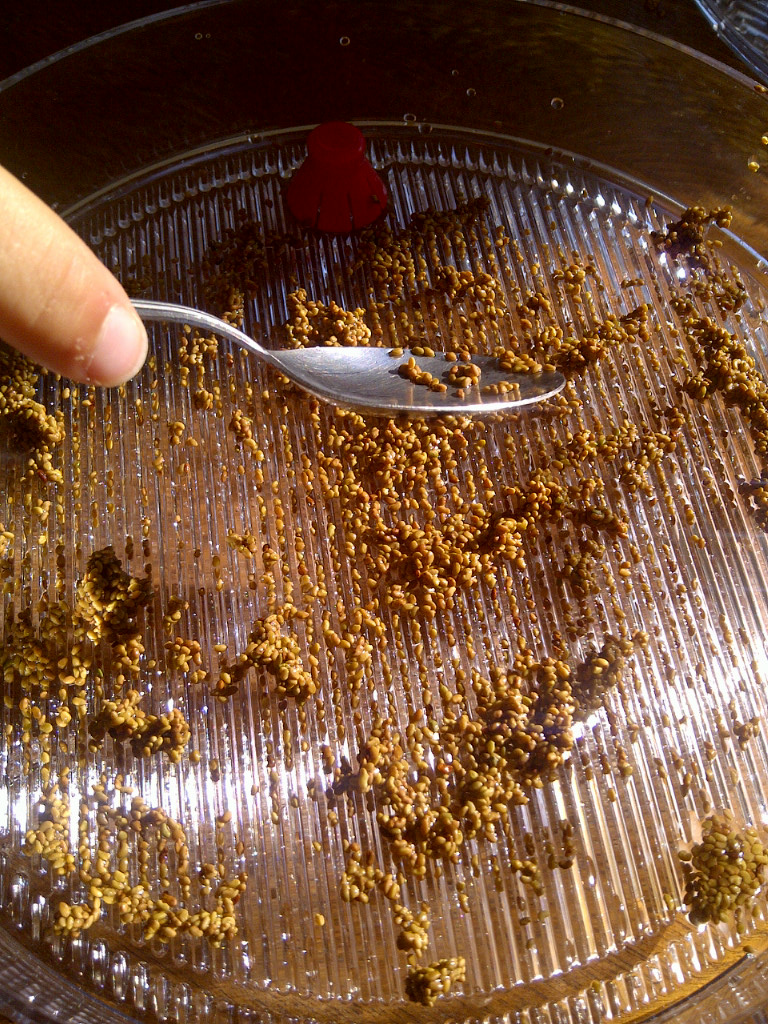
Next came alfalfa – even cuter.
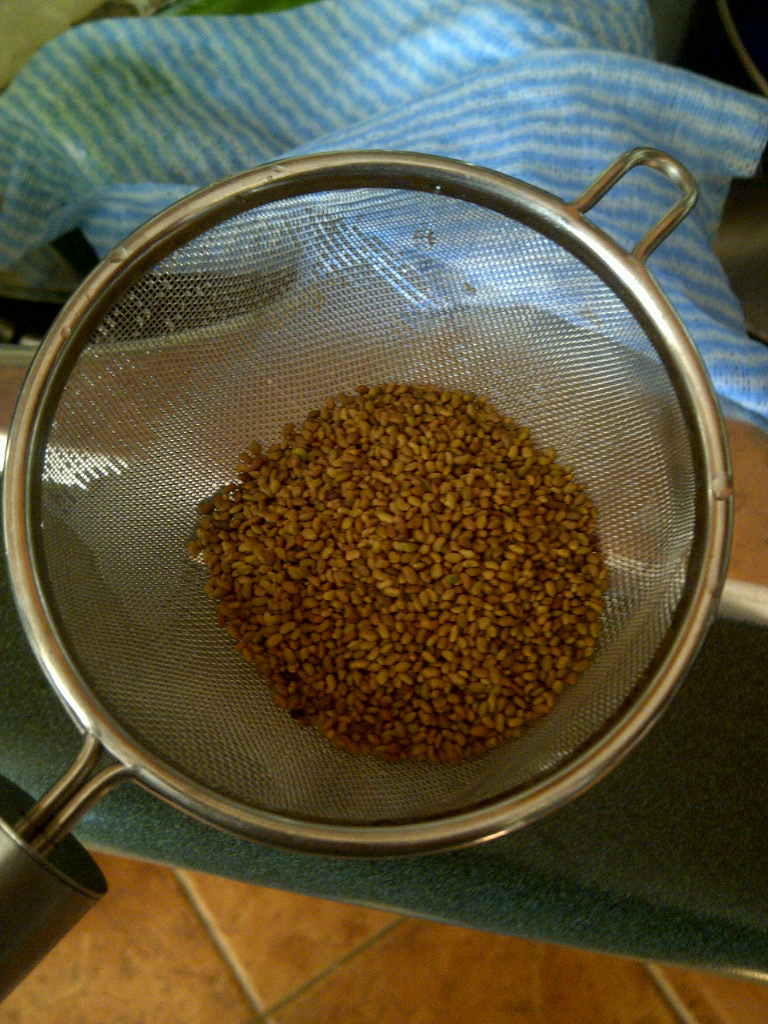
That went on the second tray.
Then radish.
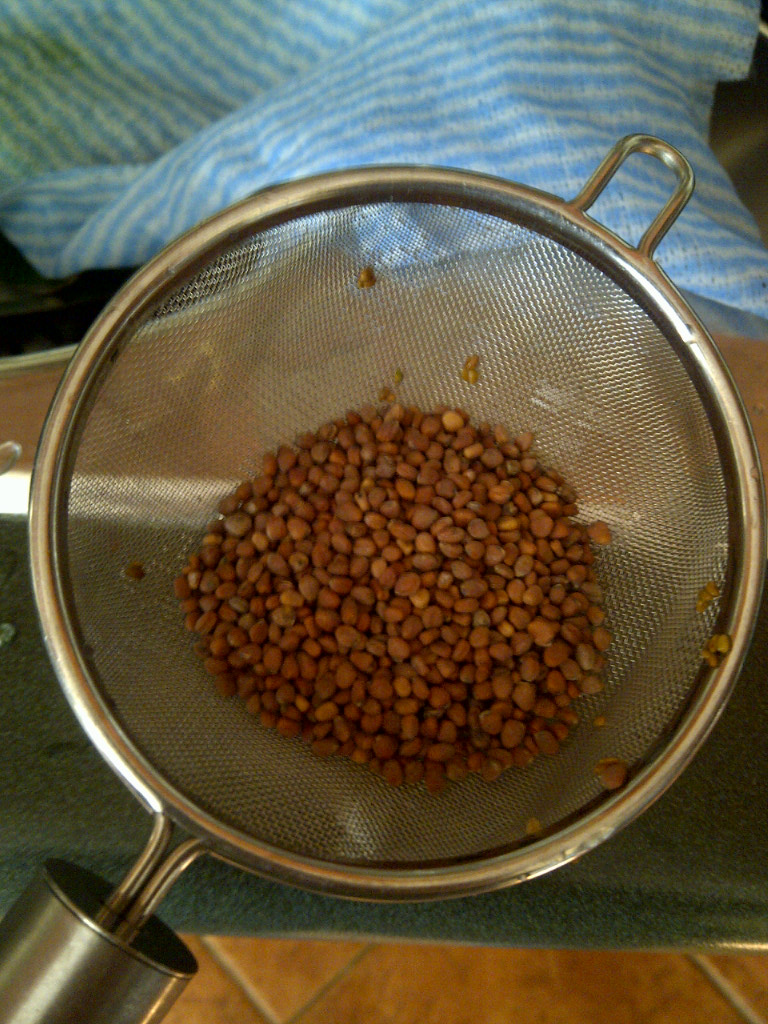
Onto the third tray.
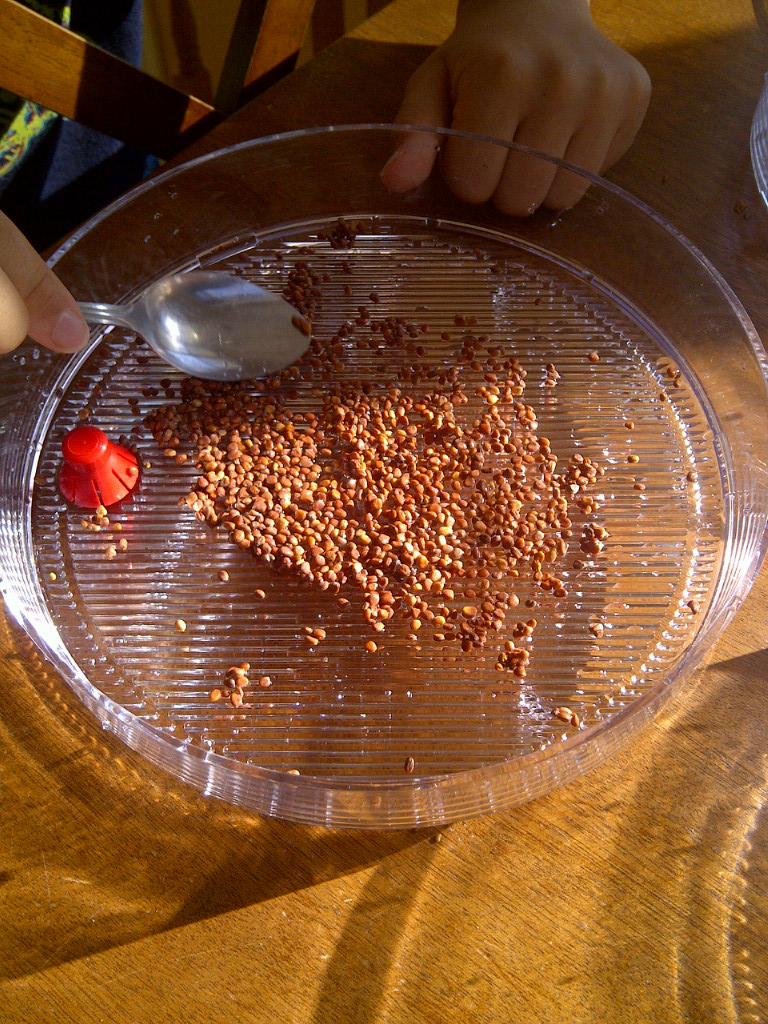
All three trays were “sown” with seeds
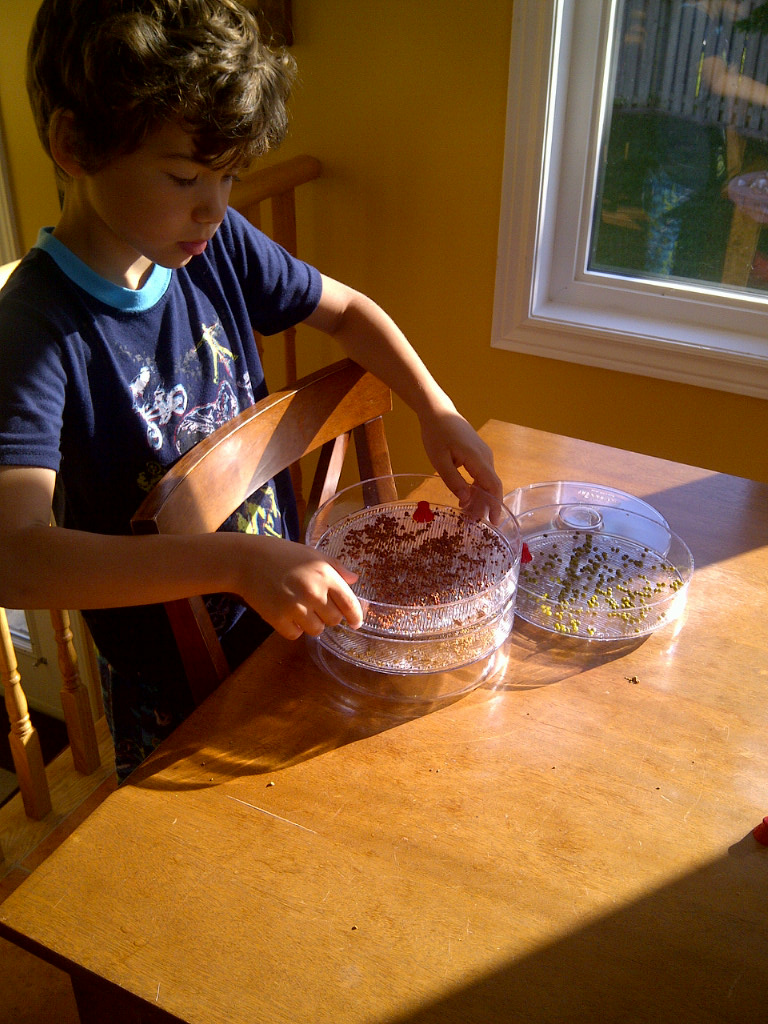
Time for my handsome assistant to stack them up – he called it an “apartment building”
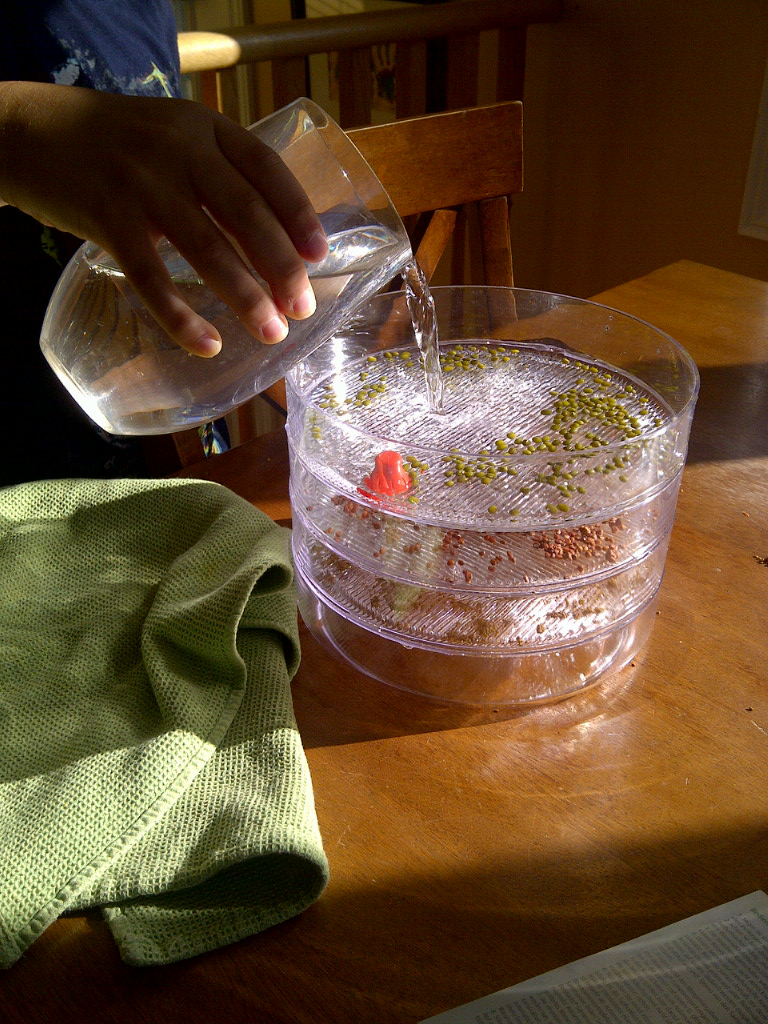
Then you add filtered water into the top tray…
And it slowly makes its way down all three levels until all the seeds are moist and ready to start bursting with healthiness!
Can you tell I’m getting excited?
Gavin thought it was pretty cool too!
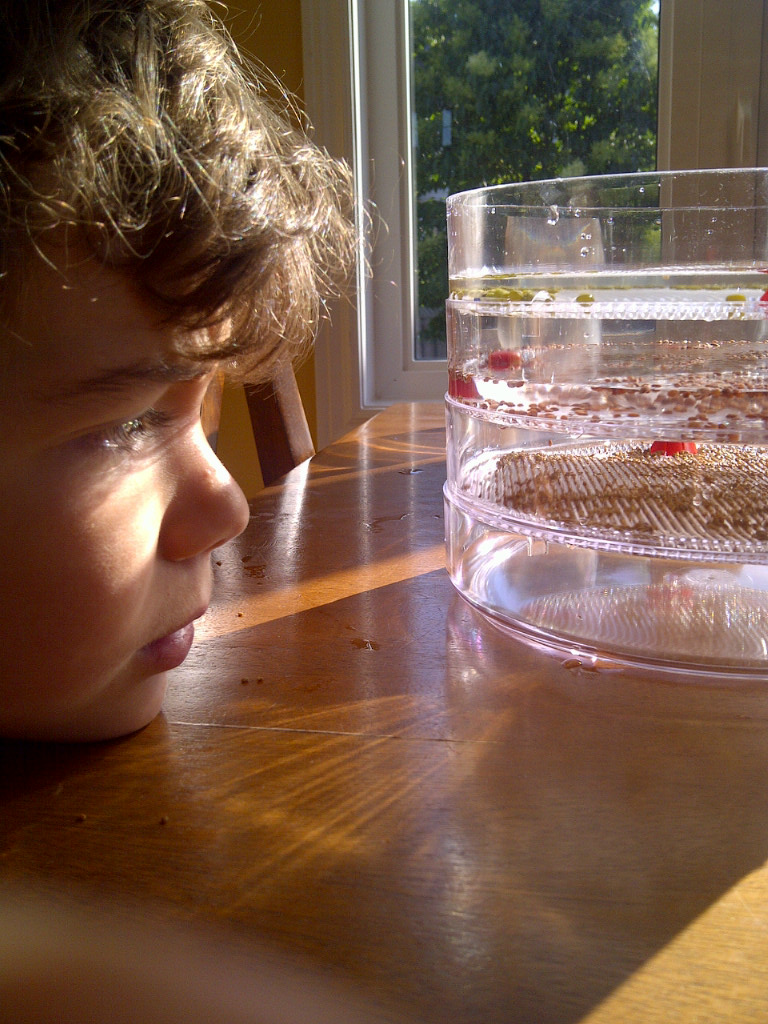
When my kids are teenagers I’m totally going to be the cool mom – “Hey, everyone over to Gavin’s place! His mom’s gonna let us help her sprout mung beans!”
It could happen.
Time to put the top on
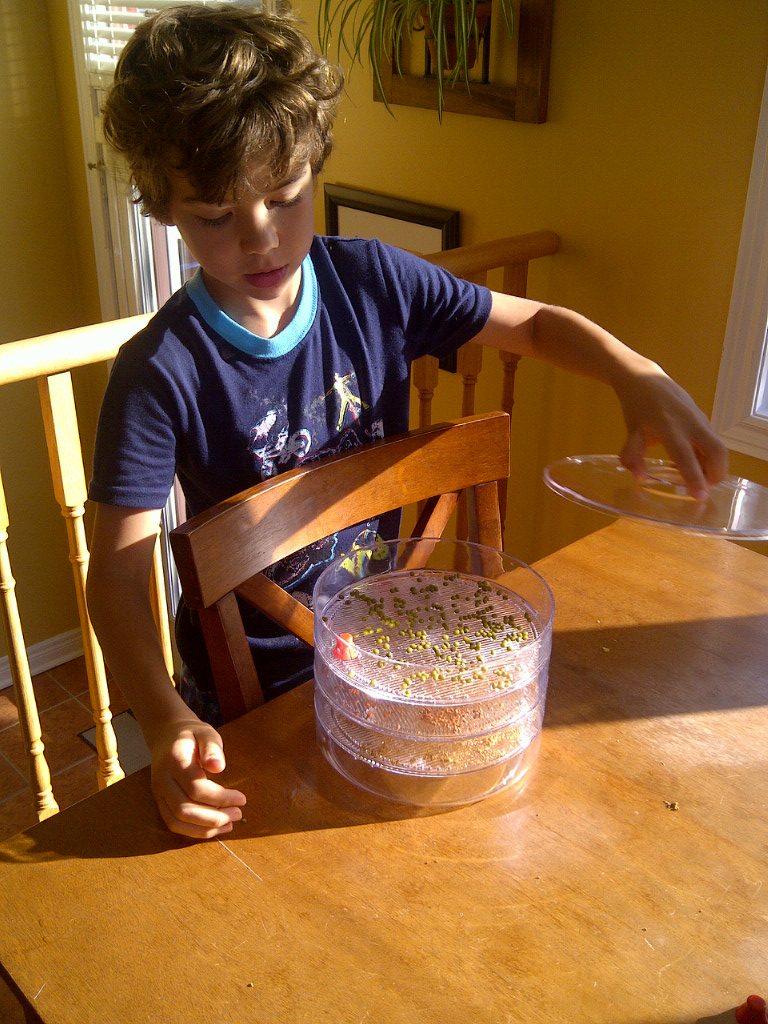
And it’s ready to go! Setting the whole thing up took about 8 minutes in total.
We moved it to a place with light, but not in direct sunlight – nestled in beside my beloved blender was the perfect spot.
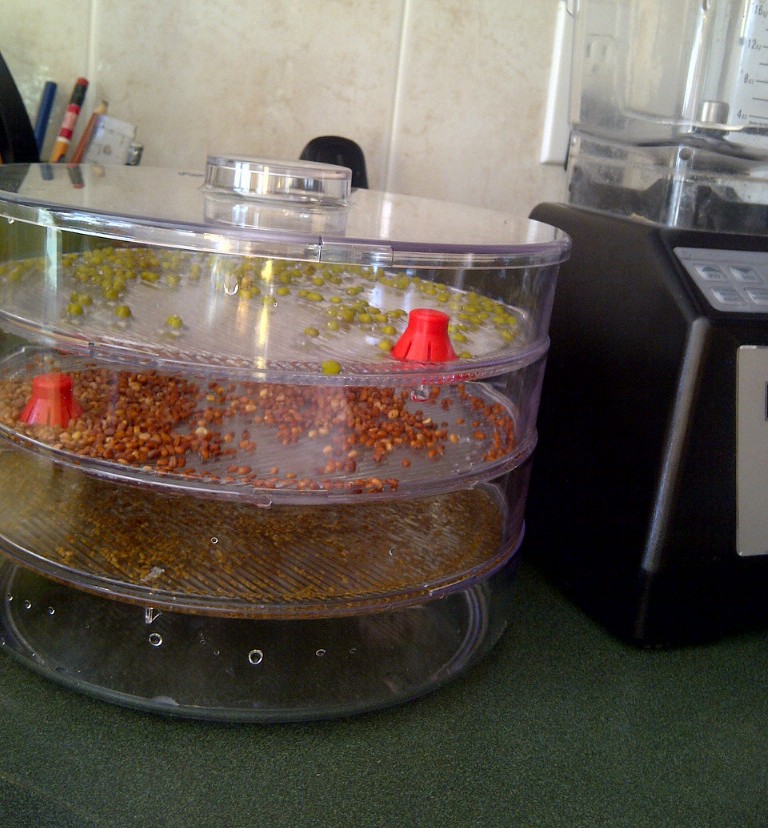
And we’re done!
I’ll leave it there and continue to add water twice day and in a few days you will be amazed!
If I had a live video camera set up in my kitchen we could watch it all day together and make note of changes, but since I don’t you’ll have to be content with checking back in here each day for sprouting progress – sorry 🙁
I’m also doing a giveaway here for a sprouting jar and seed mix so you can try this at home! More on that in the coming days.
This was a long post but, given how passionate I am about sprouting, I think totally worth it!
And come on now, admit it, you’re a little bit excited too aren’t you?


Great start! I loved the picture of your son checking out the watering spouts. I’m doing the 10 Day challenge too and did exactly the same thing, nose-to-container as I watched. I had mentioned in my post that this would be a fun family project, great to see I was on the right track!
Here’s my Day One post: bit.ly/19Wc1gm
Thanks Gwen! Yes, my son has found the whole process very cool.
My favourite pic is the chin resting on the table one. Frame it!
How did you sprout before, without the sprouter? Curious. Excellent information. rally appreciate it and will probably quote you to my readers in my last post.
🙂
Now what are you whipping up?
Valerie
Hi Valerie! Thanks, I love that shot too!
Before I got this sprouter I had a less sophisticated one that was basically just a metal mesh tray with a plastic dome over it. It worked okay but I found it difficult to water the sprouts and it was very prone to mould. I have some broccoli sprout seeds here at home that I’m going to try in the sprouter next.
How are your sprouts coming along?
What a great writeup! Great picture too. 🙂